Setting Up a Local Development Environment (XAMPP, WAMP, Laragon, etc.)
1. Introduction
1.1 What is a Local Development Environment?
A local development environment is a setup on your personal computer that allows you to build, test, and run web applications without needing an online server. It simulates a real web server environment, typically including components such as Apache or Nginx (web server), MySQL or MariaDB (database server), and PHP (scripting language).
This setup enables developers to write and test code locally, ensuring that everything works properly before deploying the website or application to a live server.
1.2 Benefits of Using a Local Server
Using a local server offers several advantages:
-
Offline Development: You can work without an internet connection.
-
Speed and Convenience: Local testing is faster since there’s no need to upload files to a remote server.
-
Error Testing: You can safely test new features or code without affecting a live website.
-
Cost-Effective: No need to purchase hosting while developing.
-
Full Control: You can configure your environment, PHP versions, and databases according to your project’s needs.
1.3 Overview of Common Tools (XAMPP, WAMP, Laragon, etc.)
There are several popular tools available for setting up a local development environment:
-
XAMPP: A cross-platform solution that includes Apache, MySQL, PHP, and Perl. It’s simple to install and works on Windows, macOS, and Linux.
-
WAMP: Designed specifically for Windows users, WAMP combines Apache, MySQL, and PHP in an easy-to-manage package with a control panel.
-
Laragon: A lightweight, modern, and fast tool that supports PHP, Node.js, Python, and more. It’s known for its quick setup, virtual hosts, and portability.
Each of these tools provides the essential components required for local web development, allowing developers to simulate a live hosting environment right on their personal machines.
2. System Requirements
Before setting up a local development environment, it’s important to make sure that your computer meets the necessary system requirements. Although most local server tools (like XAMPP, WAMP, or Laragon) are lightweight, ensuring proper hardware and software specifications helps prevent performance issues and compatibility errors.
2.1 Hardware and Software Requirements
To run a local server efficiently, you should have a reasonably modern computer. Here are the general minimum and recommended requirements:
Minimum Requirements:
-
Processor: Dual-core CPU (e.g., Intel i3 or equivalent)
-
RAM: 4 GB
-
Storage: At least 2 GB of free disk space for installation and projects
-
Software:
-
Web browser (e.g., Chrome, Firefox, Edge)
-
Code editor (e.g., Visual Studio Code, Sublime Text, or PHPStorm)
-
Recommended Requirements:
-
Processor: Quad-core CPU (e.g., Intel i5 or higher)
-
RAM: 8 GB or more
-
Storage: SSD with at least 10 GB free space for faster performance
-
Additional Tools: Git, Composer, Node.js (for modern PHP or Laravel projects)
2.2 Supported Operating Systems
Different local server tools support different operating systems. Here’s a general overview:
-
Windows: Fully supported by XAMPP, WAMP, and Laragon.
-
macOS: Supported by XAMPP (native version available) and MAMP (macOS alternative).
-
Linux: Supported by XAMPP and LAMP (Linux version).
💡 Tip: WAMP and Laragon are Windows-only tools, while XAMPP is cross-platform and works on Windows, macOS, and Linux.
2.3 Recommended Configurations
To ensure smooth and reliable development, consider the following setup recommendations:
-
Enable virtualization in BIOS/UEFI for better performance when using additional tools like Docker.
-
Keep your PHP version updated to match your project requirements (e.g., PHP 8.1 or later).
-
Use an SSD drive for faster file access and database operations.
-
Install a version control system (Git) for managing project versions.
-
Use a text editor or IDE that supports PHP syntax highlighting and debugging.
3. Installing Local Server Tools
In this section, we will explore how to install and set up three of the most popular local server tools — XAMPP, WAMP, and Laragon. Each of these tools provides a ready-to-use environment that includes essential components such as Apache, MySQL (or MariaDB), and PHP, allowing you to run and test web applications on your local computer.
3.1 Installing XAMPP
3.1.1 Downloading XAMPP
To begin, visit the official XAMPP website at https://www.apachefriends.org.
Choose the version that matches your operating system (Windows, macOS, or Linux) and your desired PHP version. Once the file is downloaded, you can proceed with the installation.
3.1.2 Installation Steps
-
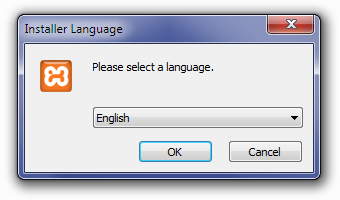
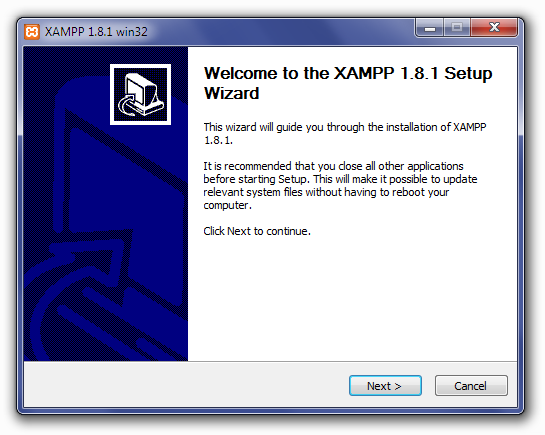
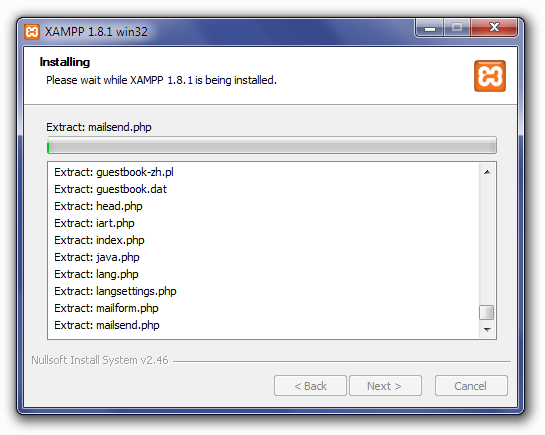
Run the downloaded installer file.
-
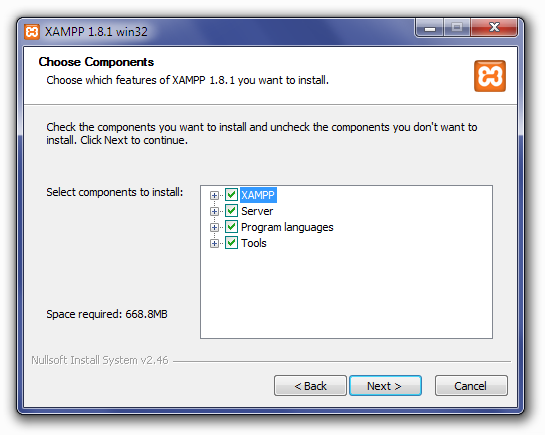
Follow the setup wizard and select the components you need (typically Apache, MySQL, PHP, and phpMyAdmin).
-
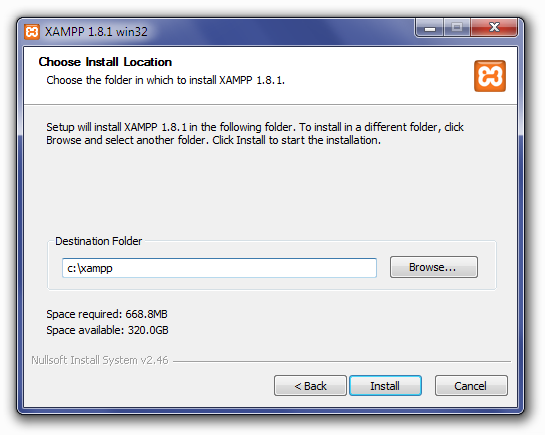
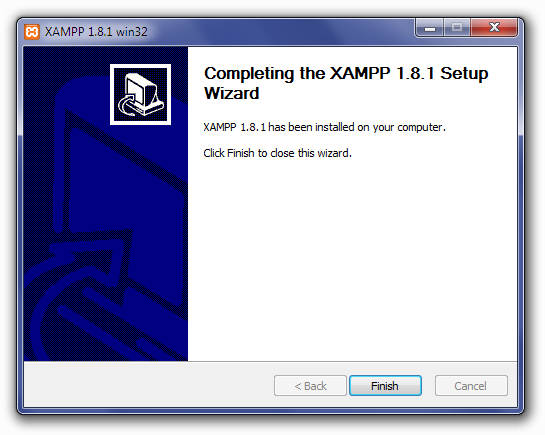
Choose an installation directory — the default location is usually
C:\xamppon Windows. -
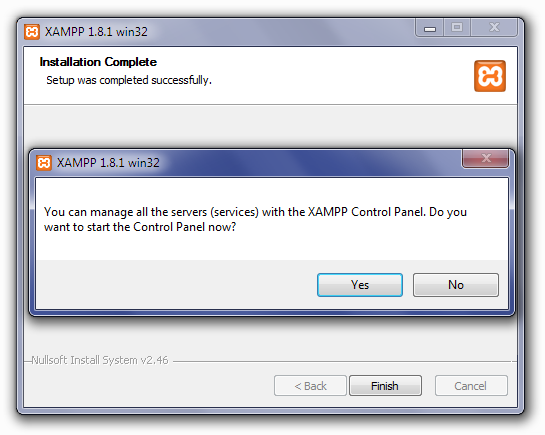
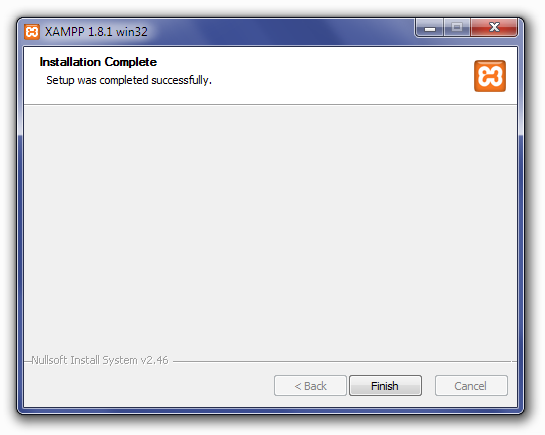
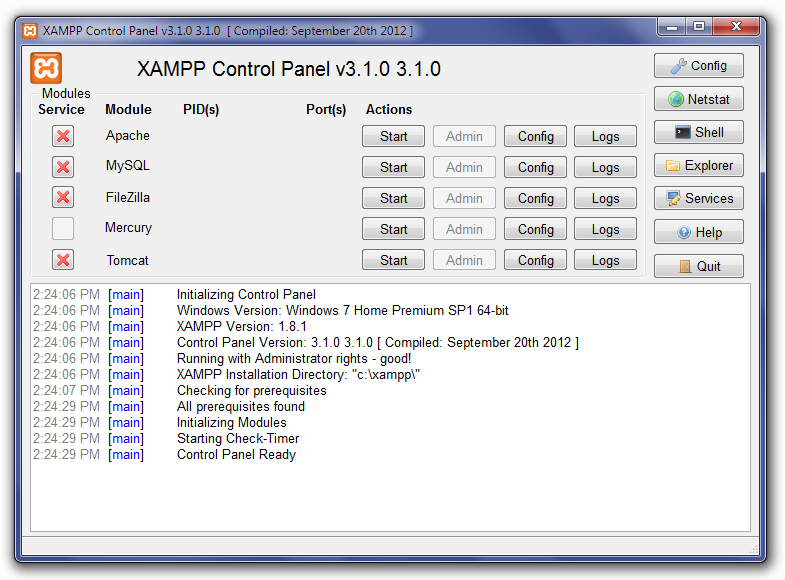
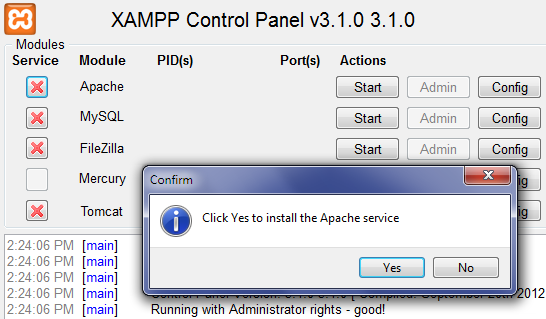
Complete the installation and launch the XAMPP Control Panel.

3.1.3 Starting Apache and MySQL
Once the installation is complete:
-
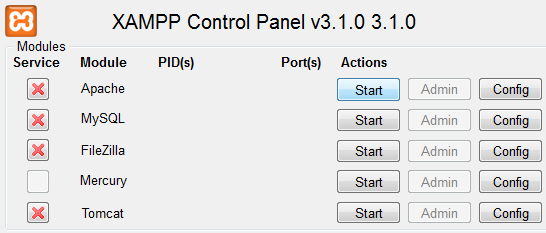
Open the XAMPP Control Panel.
-
Start the Apache and MySQL modules by clicking the Start buttons.
-
Open your web browser and go to http://localhost/ — you should see the XAMPP welcome page.
-
You can access phpMyAdmin (for database management) by visiting http://localhost/phpmyadmin/.
3.2 Installing WAMP
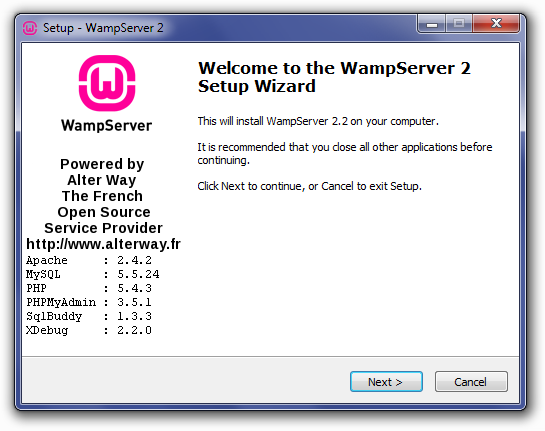
3.2.1 Downloading WAMP
Download WAMP from the official website https://www.wampserver.com.
Make sure to select the correct version for your system (32-bit or 64-bit) and a compatible PHP version.
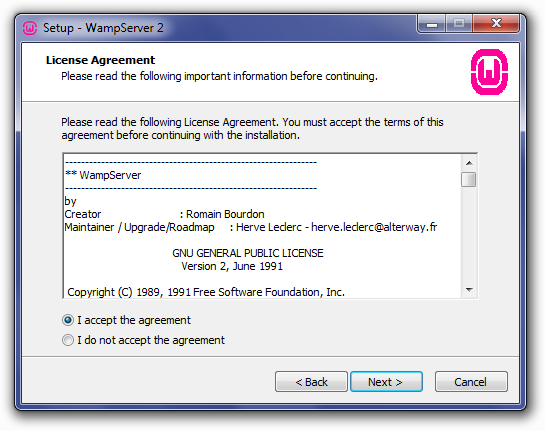
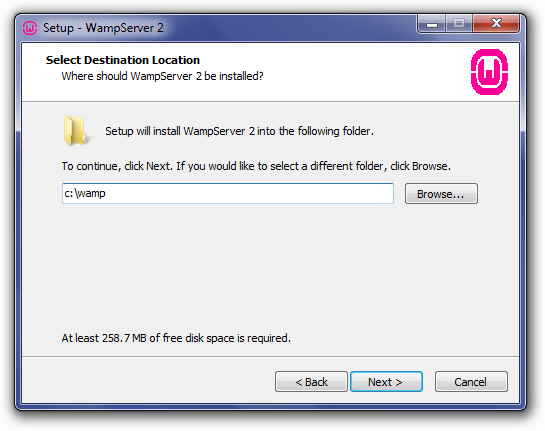
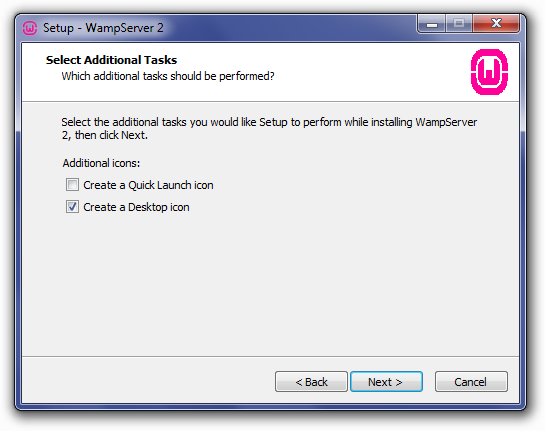
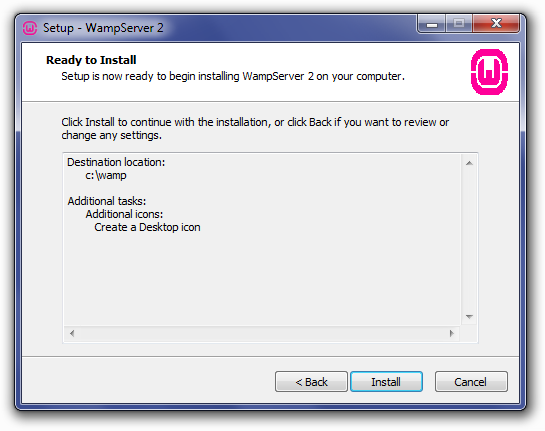
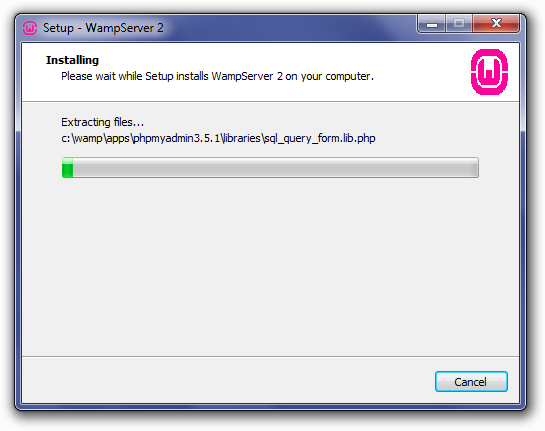
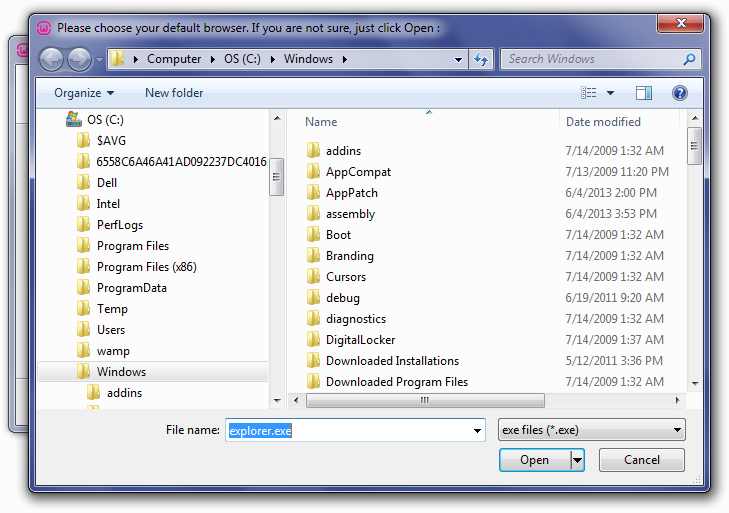
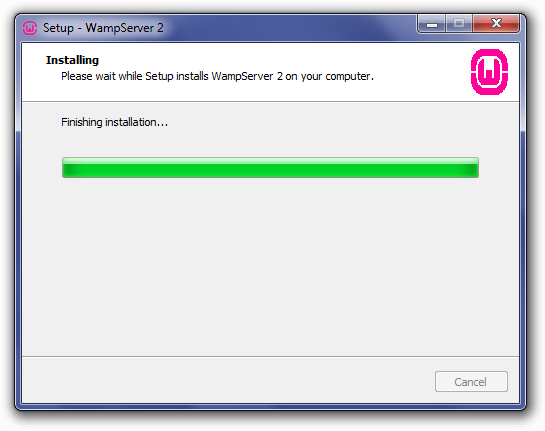
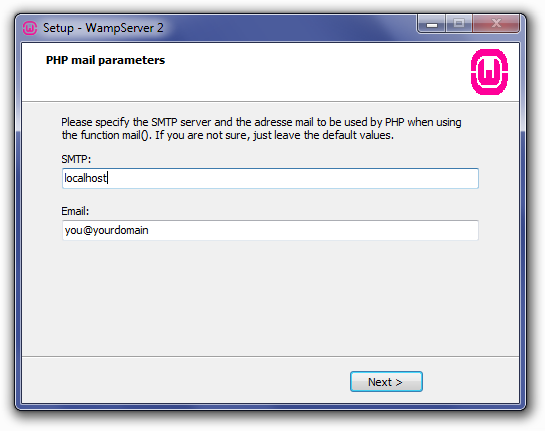
3.2.2 Installation Process
-
Run the WAMP installer as an administrator.
-
Follow the on-screen instructions, keeping the default settings unless you need specific configurations.
-
After installation, launch WAMP — a small icon will appear in the system tray.

3.2.3 Configuring Services
-
Click the WAMP icon in the system tray to manage Apache, MySQL, and PHP services.
-
Green icon = All services are running.
-
Orange or red icon = Some services failed to start (check for port conflicts).
-
Visit http://localhost/ in your browser to verify that WAMP is working.
-
Access phpMyAdmin from the WAMP menu or directly via http://localhost/phpmyadmin/.
3.3 Installing Laragon
3.3.1 Key Features
Laragon is a lightweight and portable local development environment designed for speed and simplicity. Its key features include:
-
Auto virtual host creation
-
Quick setup for Laravel and other frameworks
-
Easy PHP version switching
-
Built-in SSL support (https://localhost.test)
-
Support for PHP, Node.js, Python, and more
3.3.2 Installation Steps
-
Download Laragon from https://laragon.org.
-
Run the installer and choose the installation directory (default:
C:\laragon). -
Once installed, open Laragon and click Start All to launch Apache and MySQL.
3.3.3 Quick Setup and Use
-
Place your projects inside the
C:\laragon\wwwfolder (e.g.,C:\laragon\www\myproject). -
Laragon will automatically create a virtual host like http://myproject.test.
-
Open your browser and access the project URL to test your site.
-
You can use the Menu → PHP → Version option to switch between PHP versions easily.
4. Configuration and Customization
Once your local development environment is installed, the next step is configuring it to suit your specific development needs. Proper configuration ensures that your projects run smoothly, allows multiple projects to coexist without conflicts, and makes managing databases and services easier.
4.1 Setting Up Virtual Hosts
A virtual host allows you to run multiple projects on different local URLs, instead of using generic addresses like http://localhost/project. For example, you can use http://mywebsite.test for one project and http://blog.test for another.
Steps to set up virtual hosts (XAMPP/WAMP example):
-
Open the Apache configuration file (
httpd-vhosts.conf). -
Add a new entry for your project, specifying the document root and server name:
-
Edit your system’s
hostsfile (C:\Windows\System32\drivers\etc\hostson Windows) and add: -
Restart Apache to apply the changes.
Laragon automates this process: simply create a folder in
www, and it generates a virtual host likehttp://foldername.test.
4.2 Configuring PHP Versions
Different projects may require different PHP versions. Changing the PHP version ensures compatibility and avoids errors.
-
XAMPP: Open the XAMPP Control Panel → click
Config→ selectPHP (php.ini)to edit or switch PHP versions if multiple versions are installed. -
WAMP: Click the WAMP icon → PHP → Version → select the desired version.
-
Laragon: Menu → PHP → Version → select the PHP version; Laragon will automatically restart the server.
Using the correct PHP version is especially important for frameworks like Laravel or WordPress.
4.3 Managing Databases with phpMyAdmin
Most local server setups include phpMyAdmin, a web-based interface for managing databases. You can:
-
Create new databases for your projects.
-
Import/export database backups.
-
Manage users, permissions, and table structures.
-
Run SQL queries directly.
Access phpMyAdmin via http://localhost/phpmyadmin/ (XAMPP/WAMP) or via the Laragon menu → Database → phpMyAdmin.
4.4 Customizing Ports and Directories
Sometimes default ports (Apache: 80, MySQL: 3306) may conflict with other applications like Skype or IIS. You can customize ports to resolve these conflicts:
Change Apache Port:
-
XAMPP: Open
httpd.conf→ modifyListen 80toListen 8080. -
WAMP: WAMP icon → Apache → httpd.conf → change port number.
-
Laragon: Menu → Apache → Port → set a new port.
Change MySQL Port:
-
XAMPP:
my.ini→ changeport=3306to a free port. -
WAMP:
my.ini→ change port similarly. -
Laragon: Menu → MySQL → Port.
Custom Directories:
-
You can move your project files to any preferred folder and configure the web server document root to point there.
-
This is useful for organizing projects or working across multiple drives.
5. Creating and Managing Projects
After installing and configuring your local development environment, the next step is creating and managing your web development projects. This involves setting up project folders, running applications locally, and managing database connections.
5.1 Setting Up a New Project Folder
Every web project needs a dedicated folder in your local server’s root directory. This ensures your files are organized and accessible via your local server.
Steps to set up a new project folder:
-
Locate your server’s document root:
-
XAMPP:
C:\xampp\htdocs\ -
WAMP:
C:\wamp\www\ -
Laragon:
C:\laragon\www\
-
-
Create a new folder for your project. For example,
myproject. -
Place all your project files inside this folder: HTML, CSS, JavaScript, PHP, and framework files (if applicable).
-
(Optional) Use version control like Git to initialize your project repository:
5.2 Running PHP or Laravel Projects Locally
Once your project folder is set up, you can run your web application locally.
For PHP Projects:
-
Place the project folder in the server root.
-
Open a browser and navigate to:
-
Your PHP files will execute through the local server.
For Laravel Projects:
Laravel requires the Artisan server or proper virtual host setup:
-
Open a terminal in your project folder.
-
Run the following command:
-
The terminal will display a local URL, typically:
-
Open the URL in your browser to access your Laravel application.
💡 Laragon simplifies this process by allowing you to place Laravel projects in the
wwwfolder, automatically creating a virtual host likehttp://myproject.test.
5.3 Handling Database Connections
Most web applications rely on databases. To connect your project to a database locally:
-
Open phpMyAdmin (e.g.,
http://localhost/phpmyadmin/). -
Create a new database for your project (e.g.,
myproject_db). -
Configure your project’s database connection settings:
For PHP (using MySQLi or PDO):
$conn = new mysqli($servername, $username, $password, $dbname);
For Laravel:
Edit the .env file in your project folder:
-
Test the connection by running your project and ensuring it can read/write to the database.
Proper folder organization, project execution, and database connections are crucial for a smooth local development workflow.
6. Troubleshooting Common Issues
Even with a properly installed local development environment, you may encounter common issues while working with XAMPP, WAMP, or Laragon. This section covers typical problems and practical solutions to keep your workflow smooth.
6.1 Apache or MySQL Not Starting
Sometimes Apache or MySQL may fail to start, showing errors in the control panel. Common causes include:
-
Another application is using the same port (e.g., Skype, IIS, or another server).
-
Missing or corrupted configuration files.
Solutions:
-
Check the logs in XAMPP/WAMP/Laragon to identify specific errors.
-
Restart your computer to free up ports or services.
-
Temporarily disable conflicting applications.
-
Ensure antivirus or firewall is not blocking the server.
-
If necessary, reinstall the local server tool to restore default configurations.
6.2 Port Conflicts and Solutions
The default ports for Apache (80) and MySQL (3306) can conflict with other software. Signs of port conflicts include Apache failing to start or MySQL not running.
Solutions:
-
Change Apache Port: Edit
httpd.conf(XAMPP/WAMP) or use Laragon menu → Apache → Port → choose a free port (e.g., 8080). -
Change MySQL Port: Edit
my.ini(XAMPP/WAMP) or use Laragon menu → MySQL → Port → choose an available port. -
Remember to update your URLs accordingly (e.g.,
http://localhost:8080/).
6.3 Fixing phpMyAdmin Access Errors
Accessing phpMyAdmin may sometimes fail due to incorrect configuration or authentication issues.
Common issues and solutions:
-
Error: “Cannot log in to the MySQL server” → Check
config.inc.phpand ensure the correct username (root) and password (often blank by default) are set. -
403 Forbidden or 404 Not Found → Verify that phpMyAdmin is installed in the correct folder (
C:\xampp\phpMyAdminor equivalent) and accessible viahttp://localhost/phpmyadmin/. -
Clear your browser cache or try a different browser if phpMyAdmin still fails to load.
6.4 Performance Optimization Tips
Even locally, server performance can slow down with large projects or heavy databases.
Tips for optimization:
-
Use SSD storage for faster file access.
-
Close unnecessary applications to free up RAM.
-
Increase PHP memory limits in
php.ini(memory_limit = 512Mor higher if needed). -
Enable OPcache for PHP to improve execution speed.
-
Keep databases optimized by removing unnecessary tables or using indexing.
-
Regularly restart Apache and MySQL to clear temporary cache or locked resources.
7. Advanced Configuration
Once your local development environment is up and running, you can enhance it with advanced configurations. These improvements make development more secure, efficient, and closer to a real production environment.
7.1 Enabling HTTPS Locally (SSL Certificates)
Securing your local projects with HTTPS is important, especially when testing features that require SSL, such as OAuth, payment gateways, or secure cookies.
Steps to enable HTTPS locally:
-
Generate a Self-Signed SSL Certificate:
-
Use OpenSSL to create a certificate and key file.
-
Example (for Apache):
-
-
Configure Apache:
-
Edit your virtual host configuration file (
httpd-ssl.conforhttpd-vhosts.conf) to include the certificate paths:
-
-
Enable SSL Module:
-
Ensure
mod_sslis enabled in Apache.
-
-
Trust the Certificate in Your Browser:
-
Import the self-signed certificate into your operating system or browser to avoid “untrusted certificate” warnings.
-
Laragon simplifies this process with one-click SSL support for virtual hosts.
7.2 Setting Up Email Testing Tools (Mailhog, etc.)
Testing email functionality locally without sending real emails is essential for development. Tools like Mailhog or Mailcatcher allow you to capture and view emails sent from your application.
Steps to set up Mailhog (example):
-
Download Mailhog and run it locally.
-
Configure your application’s SMTP settings to point to Mailhog:
-
Access Mailhog’s web interface (e.g.,
http://localhost:8025) to view captured emails.
This approach ensures you can safely test email sending, formatting, and content without spamming real users.
7.3 Integrating Composer and Git
Modern PHP development often requires Composer (for dependency management) and Git (for version control).
Composer Integration:
-
Install Composer globally from https://getcomposer.org.
-
Verify installation with:
-
Use Composer to install libraries or frameworks in your project:
Git Integration:
-
Install Git from https://git-scm.com.
-
Initialize a Git repository in your project folder:
-
Use Git for version control, collaboration, and integration with platforms like GitHub or GitLab.
Combining Composer and Git allows for modern, maintainable development workflows and ensures that your project can be easily deployed or shared.
8. Best Practices
Following best practices when working with a local development environment ensures your projects remain organized, secure, and easy to maintain. These habits improve productivity, reduce errors, and make it easier to collaborate or move projects to production.
8.1 Folder Structure and Naming Conventions
A clear and consistent folder structure helps you manage multiple projects efficiently. Proper naming conventions make it easier to locate files, avoid conflicts, and keep your environment clean.
Recommendations:
-
Keep each project in its own dedicated folder under your web root directory (e.g.,
C:\xampp\htdocs\myproject). -
Use lowercase letters and hyphens for folder and file names (e.g.,
my-portfolio,blog-website). -
Avoid spaces and special characters in file or folder names.
-
Organize project files into meaningful directories:
-
Keep configuration files (like
.env,config.php) outside public folders when possible to enhance security.
Consistent structure helps prevent confusion when switching between projects or deploying to production servers.
8.2 Version Control for Local Projects
Version control is essential for tracking changes, collaborating with others, and maintaining project history. Git is the most widely used tool for this purpose.
Benefits of using Git:
-
Tracks all changes made to files and code.
-
Allows easy rollback to previous versions.
-
Supports teamwork and collaboration via GitHub, GitLab, or Bitbucket.
-
Makes deployment easier and more organized.
Basic Git workflow:
Even for solo developers, version control provides a safety net and a structured way to manage development progress.
8.3 Regular Backups and Maintenance
Backups protect your projects and databases from accidental data loss or corruption. Maintenance ensures your environment stays stable and up-to-date.
Best practices for backups and maintenance:
-
Regularly export databases using phpMyAdmin or command-line tools.
-
Create a zip or Git backup of your project folder before major changes.
-
Store backups in a secure location (external drive or cloud storage).
-
Keep your tools updated — regularly check for new versions of XAMPP, WAMP, or Laragon.
-
Periodically clean unused projects, logs, and temporary files to improve performance.
-
Document your configurations (custom ports, virtual hosts, PHP versions) for quick restoration if needed.
Reliable backups and routine maintenance save time and prevent major setbacks during development.
By following these best practices, developers can ensure that their local environments remain efficient, organized, and easy to manage — leading to a smoother and more professional development workflow.
9. Conclusion
After setting up and configuring your local development environment, you now have a powerful and flexible workspace for building and testing web applications safely and efficiently. A properly configured local server not only enhances productivity but also allows developers to simulate real-world environments without the cost or risk of working on a live server.
9.1 Summary of Key Points
Let’s recap the essential points covered throughout this guide:
-
A local development environment enables you to develop, test, and debug websites on your own computer before deployment.
-
Tools like XAMPP, WAMP, and Laragon simplify the process by providing all necessary components (Apache, MySQL, PHP, phpMyAdmin, etc.) in one package.
-
Proper configuration and customization—such as setting up virtual hosts, changing PHP versions, and managing databases—ensures smooth project management.
-
You learned how to create and manage projects, handle database connections, and troubleshoot common issues such as port conflicts or service startup errors.
-
Advanced setups, including HTTPS configuration, email testing tools, and Composer/Git integration, prepare your environment for professional-grade development.
-
Following best practices in file organization, version control, and regular maintenance helps maintain efficiency and project security.
9.2 Next Steps (Deploying to Production, Using Docker, etc.)
Now that you have a strong local setup, the next step is to expand your workflow to more advanced and scalable environments.
Recommended next steps:
-
Deploying to Production:
-
Learn how to migrate your projects from your local machine to a live hosting server or cloud platform (e.g., cPanel, VPS, or AWS).
-
Optimize performance, enable HTTPS, and configure security settings for live users.
-
-
Using Docker for Development:
-
Docker allows you to containerize your development environment, ensuring consistency across different systems.
-
It’s especially useful for team projects and modern frameworks.
-
-
Exploring Frameworks and Tools:
-
Practice using popular frameworks like Laravel, WordPress, or Symfony.
-
Experiment with additional developer tools such as Node.js, Composer, and GitHub Actions for automation and CI/CD pipelines.
-
-
Continuous Learning:
-
Stay updated with PHP versions, web standards, and new development practices.
-
Follow web development communities, documentation, and tutorials to keep improving your skills.
-
By mastering both local and production environments, you’ll have the foundation to build, test, and deploy professional web applications efficiently — whether for personal projects, clients, or large-scale systems.
10. Appendix
The appendix provides additional resources and quick references to help you continue learning, troubleshoot efficiently, and work faster in your local development environment. It serves as a handy guide for both beginners and experienced developers.
10.1 Useful Resources and Links
Here are some trusted websites, tools, and documentation sources that can help you deepen your understanding and stay updated with the latest development practices:
🔧 Official Tools and Documentation
-
Laragon: https://laragon.org
-
Apache HTTP Server Docs: https://httpd.apache.org/docs
-
MySQL Documentation: https://dev.mysql.com/doc
-
PHP Manual: https://www.php.net/manual
-
phpMyAdmin: https://www.phpmyadmin.net
🧰 Development Tools
-
Visual Studio Code: https://code.visualstudio.com
-
Git: https://git-scm.com
-
Composer (PHP Dependency Manager): https://getcomposer.org
-
Mailhog (Email Testing): https://github.com/mailhog/MailHog
-
Docker: https://www.docker.com
📚 Learning Resources
-
Laravel Documentation: https://laravel.com/docs
-
W3Schools (PHP, HTML, CSS, JS Tutorials): https://www.w3schools.com
-
MDN Web Docs (by Mozilla): https://developer.mozilla.org
-
Stack Overflow: https://stackoverflow.com – for community Q&A and troubleshooting help.
These resources are valuable for problem-solving, learning new techniques, and keeping your development skills current.
10.2 Common Commands Reference
Below is a list of frequently used terminal or command-line commands that are useful when working with local development tools, PHP projects, and Git.
💻 PHP and Server Commands
| Task | Command |
|---|---|
| Check PHP version | php -v |
| Start built-in PHP server | php -S localhost:8000 |
| Run Laravel local server | php artisan serve |
| Clear Laravel cache | php artisan cache:clear |
| Restart Apache (Laragon) | laragon reload |
🗃 Database Commands (MySQL CLI)
| Task | Command |
|---|---|
| Access MySQL | mysql -u root -p |
| Show databases | SHOW DATABASES; |
| Create a new database | CREATE DATABASE myproject_db; |
| Select a database | USE myproject_db; |
| Show tables | SHOW TABLES; |
| Exit MySQL | exit; |
⚙️ Composer Commands
| Task | Command |
|---|---|
| Check Composer version | composer -v |
| Install dependencies | composer install |
| Update dependencies | composer update |
| Create a new Laravel project | composer create-project laravel/laravel projectname |
🌿 Git Commands
| Task | Command |
|---|---|
| Initialize a Git repository | git init |
| Add all files | git add . |
| Commit changes | git commit -m "Message" |
| Check repository status | git status |
| Push to GitHub | git push origin main |
| Clone a repository | git clone [URL] |
Keeping this command list nearby will save you time and help you work more efficiently while developing and testing your projects.
By using these resources and command references, you’ll have all the essential tools and documentation at your fingertips — helping you to build, debug, and manage your local web development environment with confidence.